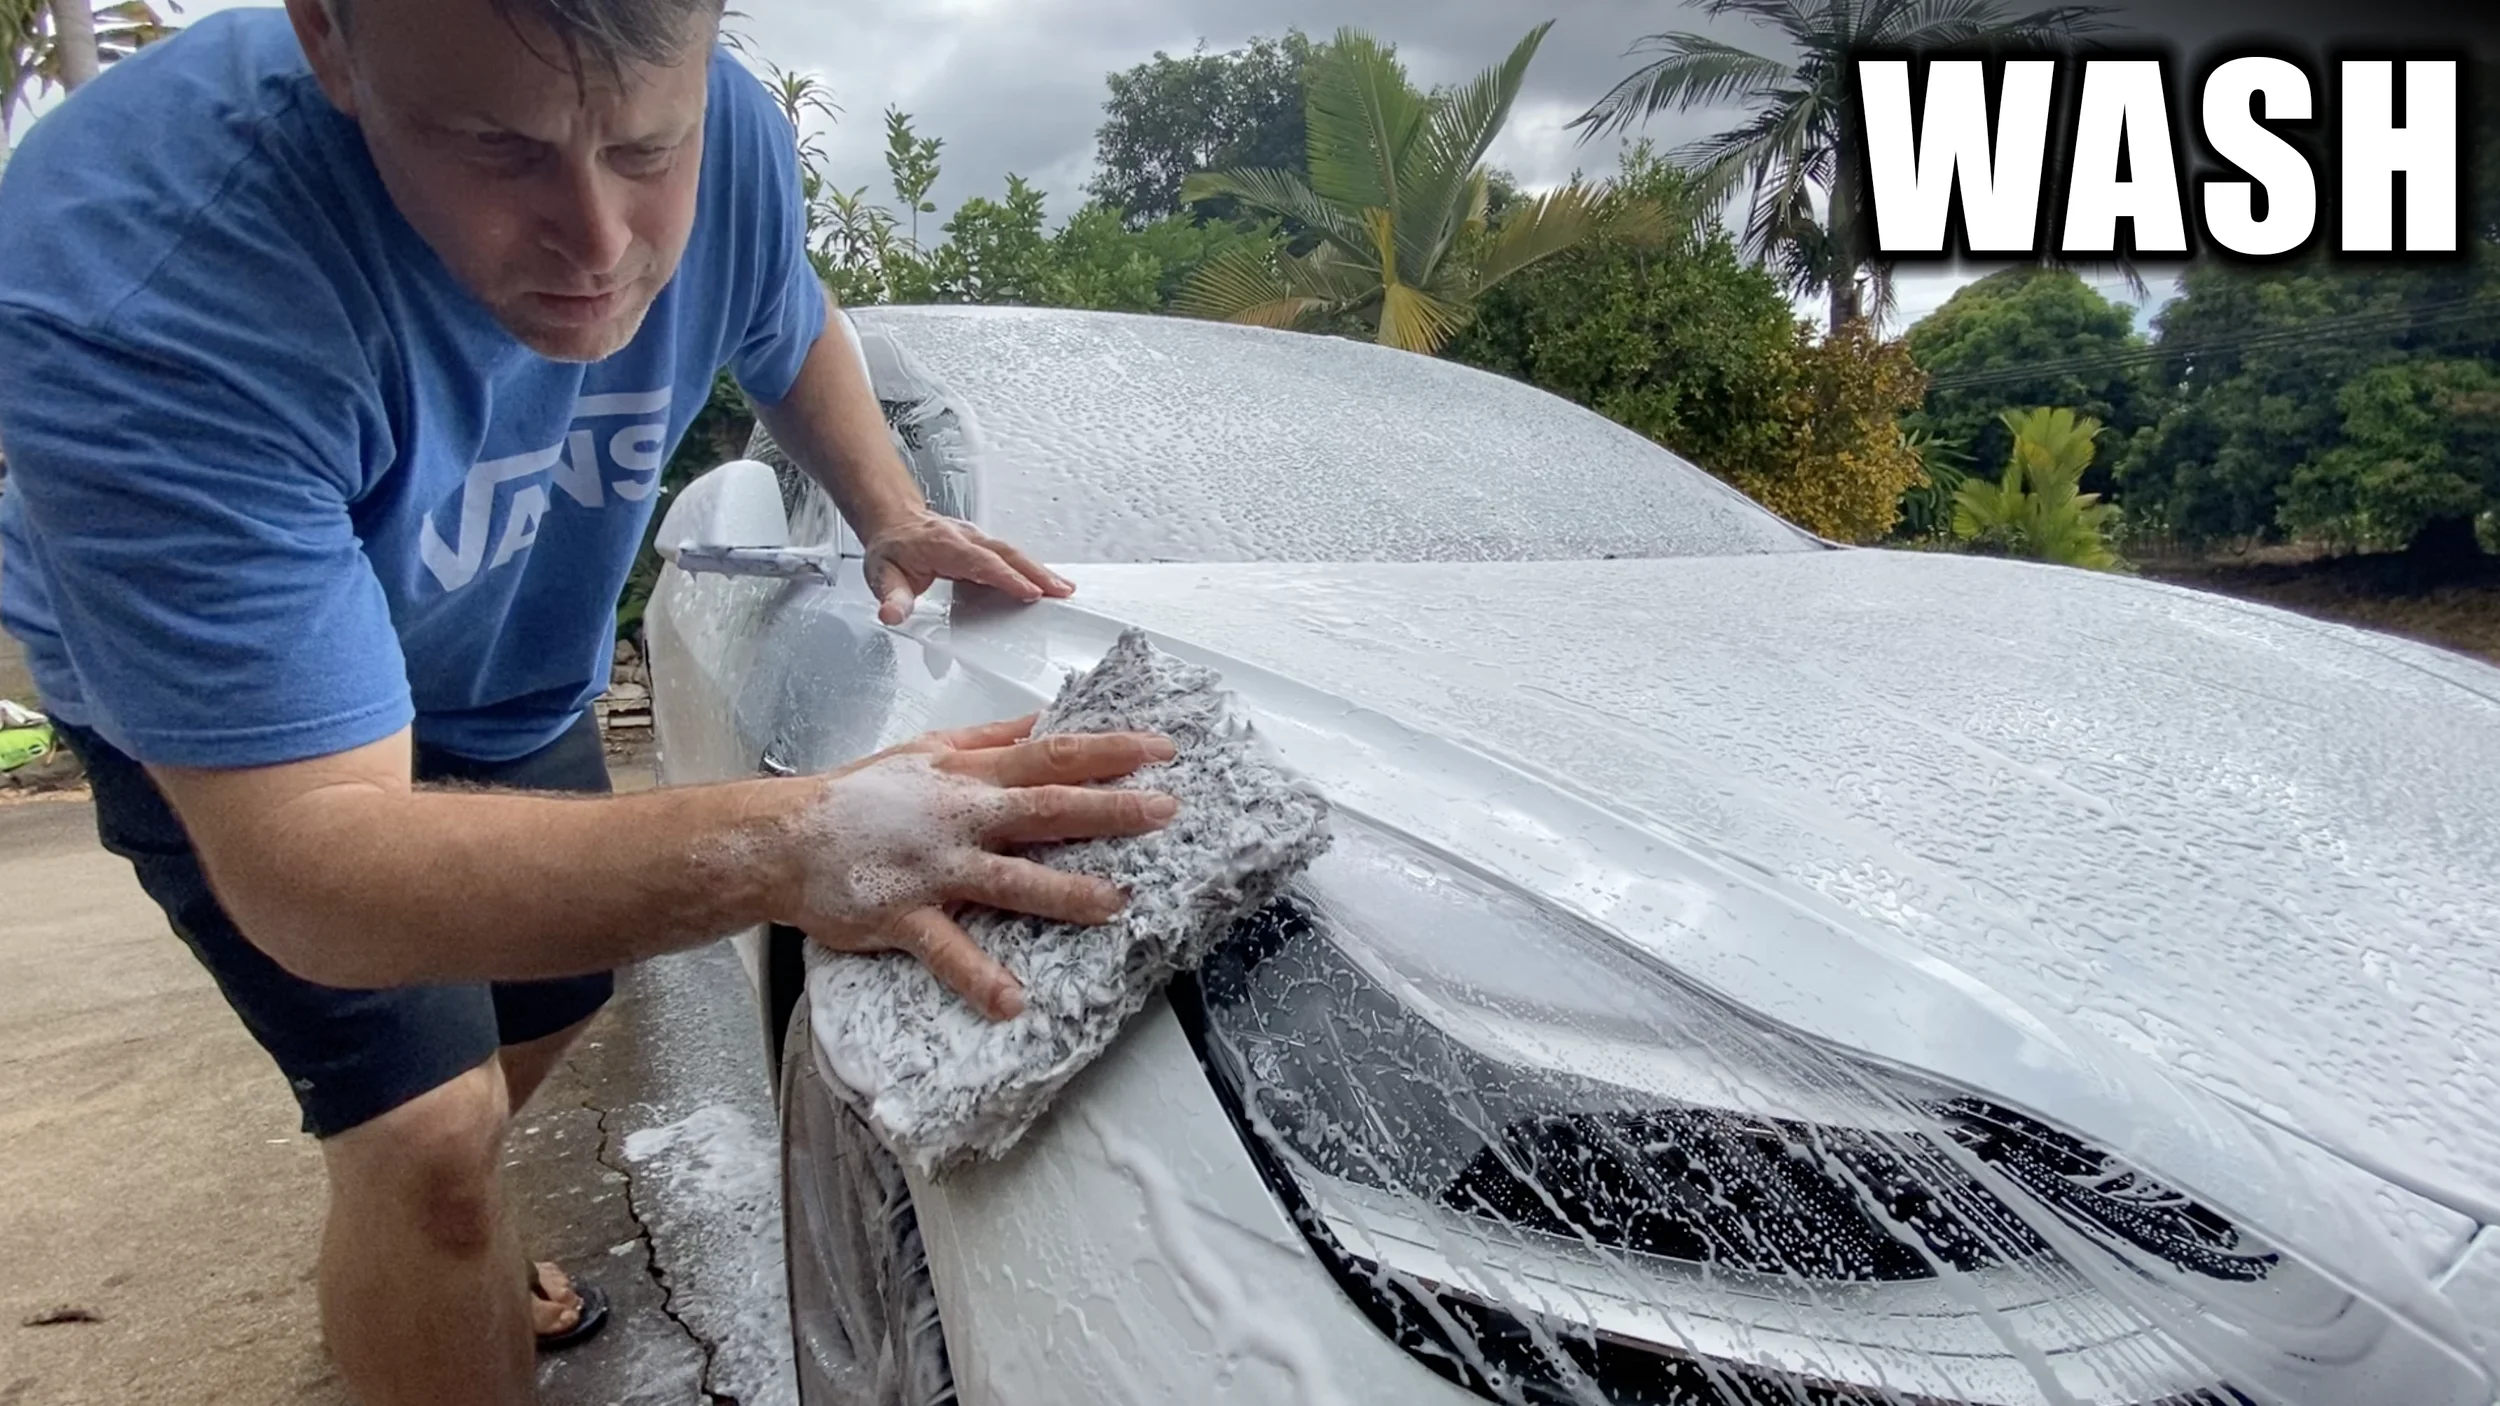
How to Wash Your Car Like a Pro Detailer
Take your time washing the paint with a methodical process that includes thorough decontamination followed by a careful contact wash. This approach removes bonded contaminants and loose dirt safely, minimizing the risk of swirls while leaving the surface properly prepared for the next steps.
A proper wash is the foundation of every detail. Done correctly, it removes dirt without introducing swirl marks. Done poorly, it creates the very scratches you’re trying to avoid. Below is the exact process I use on every vehicle.
Important: Always wash the car in a cool, shaded area out of direct sunlight. In Hawaii’s heat, working in the sun causes soap and water to dry too quickly and can leave spots on the paint.
Step 1: Pre-Wash
When should you use a pre-wash?
A higher pH pre-wash is the dirty-car tool, not the weekly soap. When a vehicle is loaded with grit, road film, or bugs, a no-touch foam-cannon pre-wash and rinse is the safest way to knock off most of that contamination before a mitt ever touches paint. Alkaline chemistry breaks down oils and bonded dirt that a pH-neutral soap will not take off. Use it as a first pass, then follow up with a proper contact wash.
When to use it: Heavily soiled vehicles — neglected daily drivers, after dirt roads, construction, or a long stretch between washes. The goal is to remove the loose and semi-stuck contamination so the contact wash is not grinding grit into clear coat.
No-touch foam and rinse: Apply a thick foam with a foam cannon, let it work, then rinse. No mitt, no sponge, no chance of scratching during this step. That is the whole point of a pre-wash.
Stay out of direct sun: Hot paint and full sun dry the soap too fast and raise the odds of spotting or streaking. Work in shade or at a cooler time of day.
Dwell 3–5 minutes: Give the higher pH mix time to break down film and bugs. That short soak is what makes this step effective.
Do not let it dry on the paint!: If the foam starts to dry, rinse immediately. Dried alkaline soap can mark paint, trim, and protection.
Rinse with a pressure washer: Use the pressure washer to rinse the soap and loosened dirt off the surface. A garden hose usually does not have the volume or force to finish a true pre-wash cleanly.
Higher pH soaps are stronger because they use more aggressive cleaning chemistry. That extra punch is why they work as a pre-wash — and why they are not the everyday use bottle. They can break down lower quality spray sealants. They can unclog ceramic coatings restoring the original beading and sheeting behavior. Use them when the car is actually dirty, rinse thoroughly, then switch back to a pH-neutral soap for the contact wash.
Process:
Mix 1–2 oz of quality foaming soap in your foam cannon and fill the rest with water.
For heavily soiled cars, use a higher PH touchless wash soap or add 1–2 oz of a high-quality all-purpose cleaner (APC) to to your favorite PH neutral wash soap.
Using a foam cannon, Apply a thick layer of foam over the entire vehicle.
Let it dwell as long as possible (2-3 minutes) but do not let it dry.
Rinse thoroughly with a pressure washer or strong hose.
Step 2: Foam Bath
What makes a great wash soap?
A great pH-neutral car wash soap sits right around 7 on the pH scale so it can lift everyday dirt without stripping wax, sealant, or ceramic. What actually separates a “fine” soap from a great one is how much of the useful stuff the chemist put in the bottle. Foam boosters, lubricating surfactants, dirt-encapsulating agents, and fragrance all cost money. Load more of them and the bottle price goes up. That is why the real number to watch is cost per wash, not the price on the bottle.
Price (bottle and per wash): A cheaper gallon that needs a heavy dose is not a good deal. Figure what you actually use in the foam cannon or bucket, then divide the full landed cost (tax and shipping included) by washes. More active ingredients usually raise the bottle price, but they can lower cost per wash if you use less soap and get better results.
Foaming ability: After the foam cannon lays it on, thick foam should cling and stay wet while you work around the vehicle. That extra dwell time matters in hot sun — the foam keeps working instead of drying on the paint before you get there with the mitt.
Lubrication: The soap should wrap dirt and let the wash mitt glide. You want a slick, wet feel on the paint so contaminants lift off instead of getting dragged across clear coat. If the mitt starts to grab, lubrication is too low and swirl risk goes up.
Scent: The chemist can add fragrance or leave it bland. Strength and quality of that scent come from how much fragrance oil goes in, which also adds cost. Pick a smell you actually enjoy — the wash goes better when the product does not fight you.
A second foam application after the pre-wash and rinse provides extra lubrication and extends your working time during the contact wash, helping keep the surface wet and lubricated while you work.
Process:
Mix 1–2 oz of quality foaming soap in your foam cannon and fill the rest with water.
Using a foam cannon, Apply a thick layer of foam over the entire vehicle.
Immediately begin the 2 bucket contact wash.
Pro tip: Thick foam clings longer, especially on vertical panels. This long lasting foam increases the working time needed to complete the contact wash. Thin, runny foam sheets off fast and reducing working time and increasing the possibility of the soap drying on the paint.
Step 3: The Contact Wash
The two-bucket wash is the safest way to do a contact wash after the pre-rinse. One bucket holds soapy water. The second holds clean rinse water, ideally with a grit guard in the bottom. After each panel, the mitt goes into the rinse bucket first so dirt drops out of the fibers instead of going back into the soap. That keeps the wash water cleaner and keeps grit from being dragged across the paint.
Less scratching and swirling: Most wash marks come from a dirty mitt, not from the soap. The rinse bucket intercepts that grit before the next pass.
Soap stays usable longer: One bucket turns into muddy slurry by the third panel. Two buckets keep the suds working as lubrication instead of as sandpaper.
Grit guard does the trapping: Agitate the mitt on the grid so particles fall underneath and stay there. Without a guard, you just stir the dirt back up.
Pairs with the pre-wash: Conduct a pre-was foam and rinse first to remove the heavy soil. Then use the two-bucket method with a pH-neutral soap for a light contact wash.
Cheap insurance: Two buckets and a couple of grit guards cost less than one paint correction.
Setup:
Wash bucket → water + 1–2 oz of premium car wash soap
Rinse bucket → clean water + grit guard
High-quality wash mitt
Soft detail brush for badges and panel gaps
Process:
Soak the mitt in the wash bucket.
Start at the roof and work your way down the upper panels using light pressure and straight-line motions.
Wash lower panels and the rear last — these are the dirtiest areas.
Rinse the mitt frequently in the rinse bucket, grinding it against the grit guard to release dirt.
Reload the mitt with fresh soap and continue.
Work at a pace that prevents product from drying on the paint.
**The more often you rinse the mitt, the lower the chance of creating swirls.
One-bucket alternative: This is the highest level of paint care as you never re-use a mitt that is dirty. Use multiple clean mitts. Wash with one mitt (use both sides), then set it aside and grab a fresh one. This keeps dirty fibers away from the paint. Requires at least 5-7 wash mitts to safely complete a wash. Timing for mitt swaps is a judgement call based on the contamination level on the vehicle. The dirtier the vehicle the more often you swap the mitt for a new one.
Why This Method Protects Your Paint
Pre-wash foam removes the majority of abrasive dirt before you touch the car.
Second foam application provides extra lubrication and extends your working time.
The two-bucket system helps keep contaminants out of your wash mitt and off the paint.
Washing the top and cleaner areas first reduces the chance of dragging dirt from the lower, dirtier sections across the paint.
Thick foam and proper lubrication reduce friction during the contact wash.
This is the exact process professional detailers use to maintain paint between corrections and coatings.
Recommended Wash Products
These are the products I actually use and recommend:
My wall mounted pressure washer setup – A great tool but a garden hose works too. VIDEO
Foam Cannon – The ideal pre-wash tool for thick, clinging foam that safely loosens dirt and grime before any contact washing.
Touchless Wash Soap – Wash your car without touching it. Best for light maintenance washes between bigger details. Use the PIR Calculator to figure out dilution ratio.
Decontamination Soap – Used to break down dirt for a pre-wash, break down sealants prior to paint correction, or refresh a clogged ceramic coating.
Home Brew Decon Soap – Add 1–2 oz of All Purpose Cleaner to your favorite pH-neutral foam cannon soap to improve cleaning power. Do not let it dry on the paint.
Foam cannon soap – Great pre-contact wash thick foaming car shampoo that is slick to the touch and smells great. Perfect to pre-foam before the contact wash. VIDEO
Bucket wash soap – Provides superior lubrication and dirt encapsulation. VIDEO
Measuring cup– Perfect size for detailing (8 oz / 250 ml).
Wash mitt – High-quality mitt that allows agitation of the soap without damaging paint. Use light pressure. Online Store | Amazon
Detail brush – Soft bristle brush for tight spots around badges and panel gaps. I use red for paint. Online Store | Amazon
Clay towel – Removes rough surface contamination. Use with a Rinseless wash or Iron Remover as light marring can occur if used incorrectly. More Info On Clay Usage
As an Amazon Associate I earn from qualifying purchases. Thanks for your support.
Watch the Process
Next Steps in the Detailing Process
A great wash sets up everything that follows. Continue with these related guides:
Questions or broken links? Email me at Jeremy@HawaiiDetailing.com