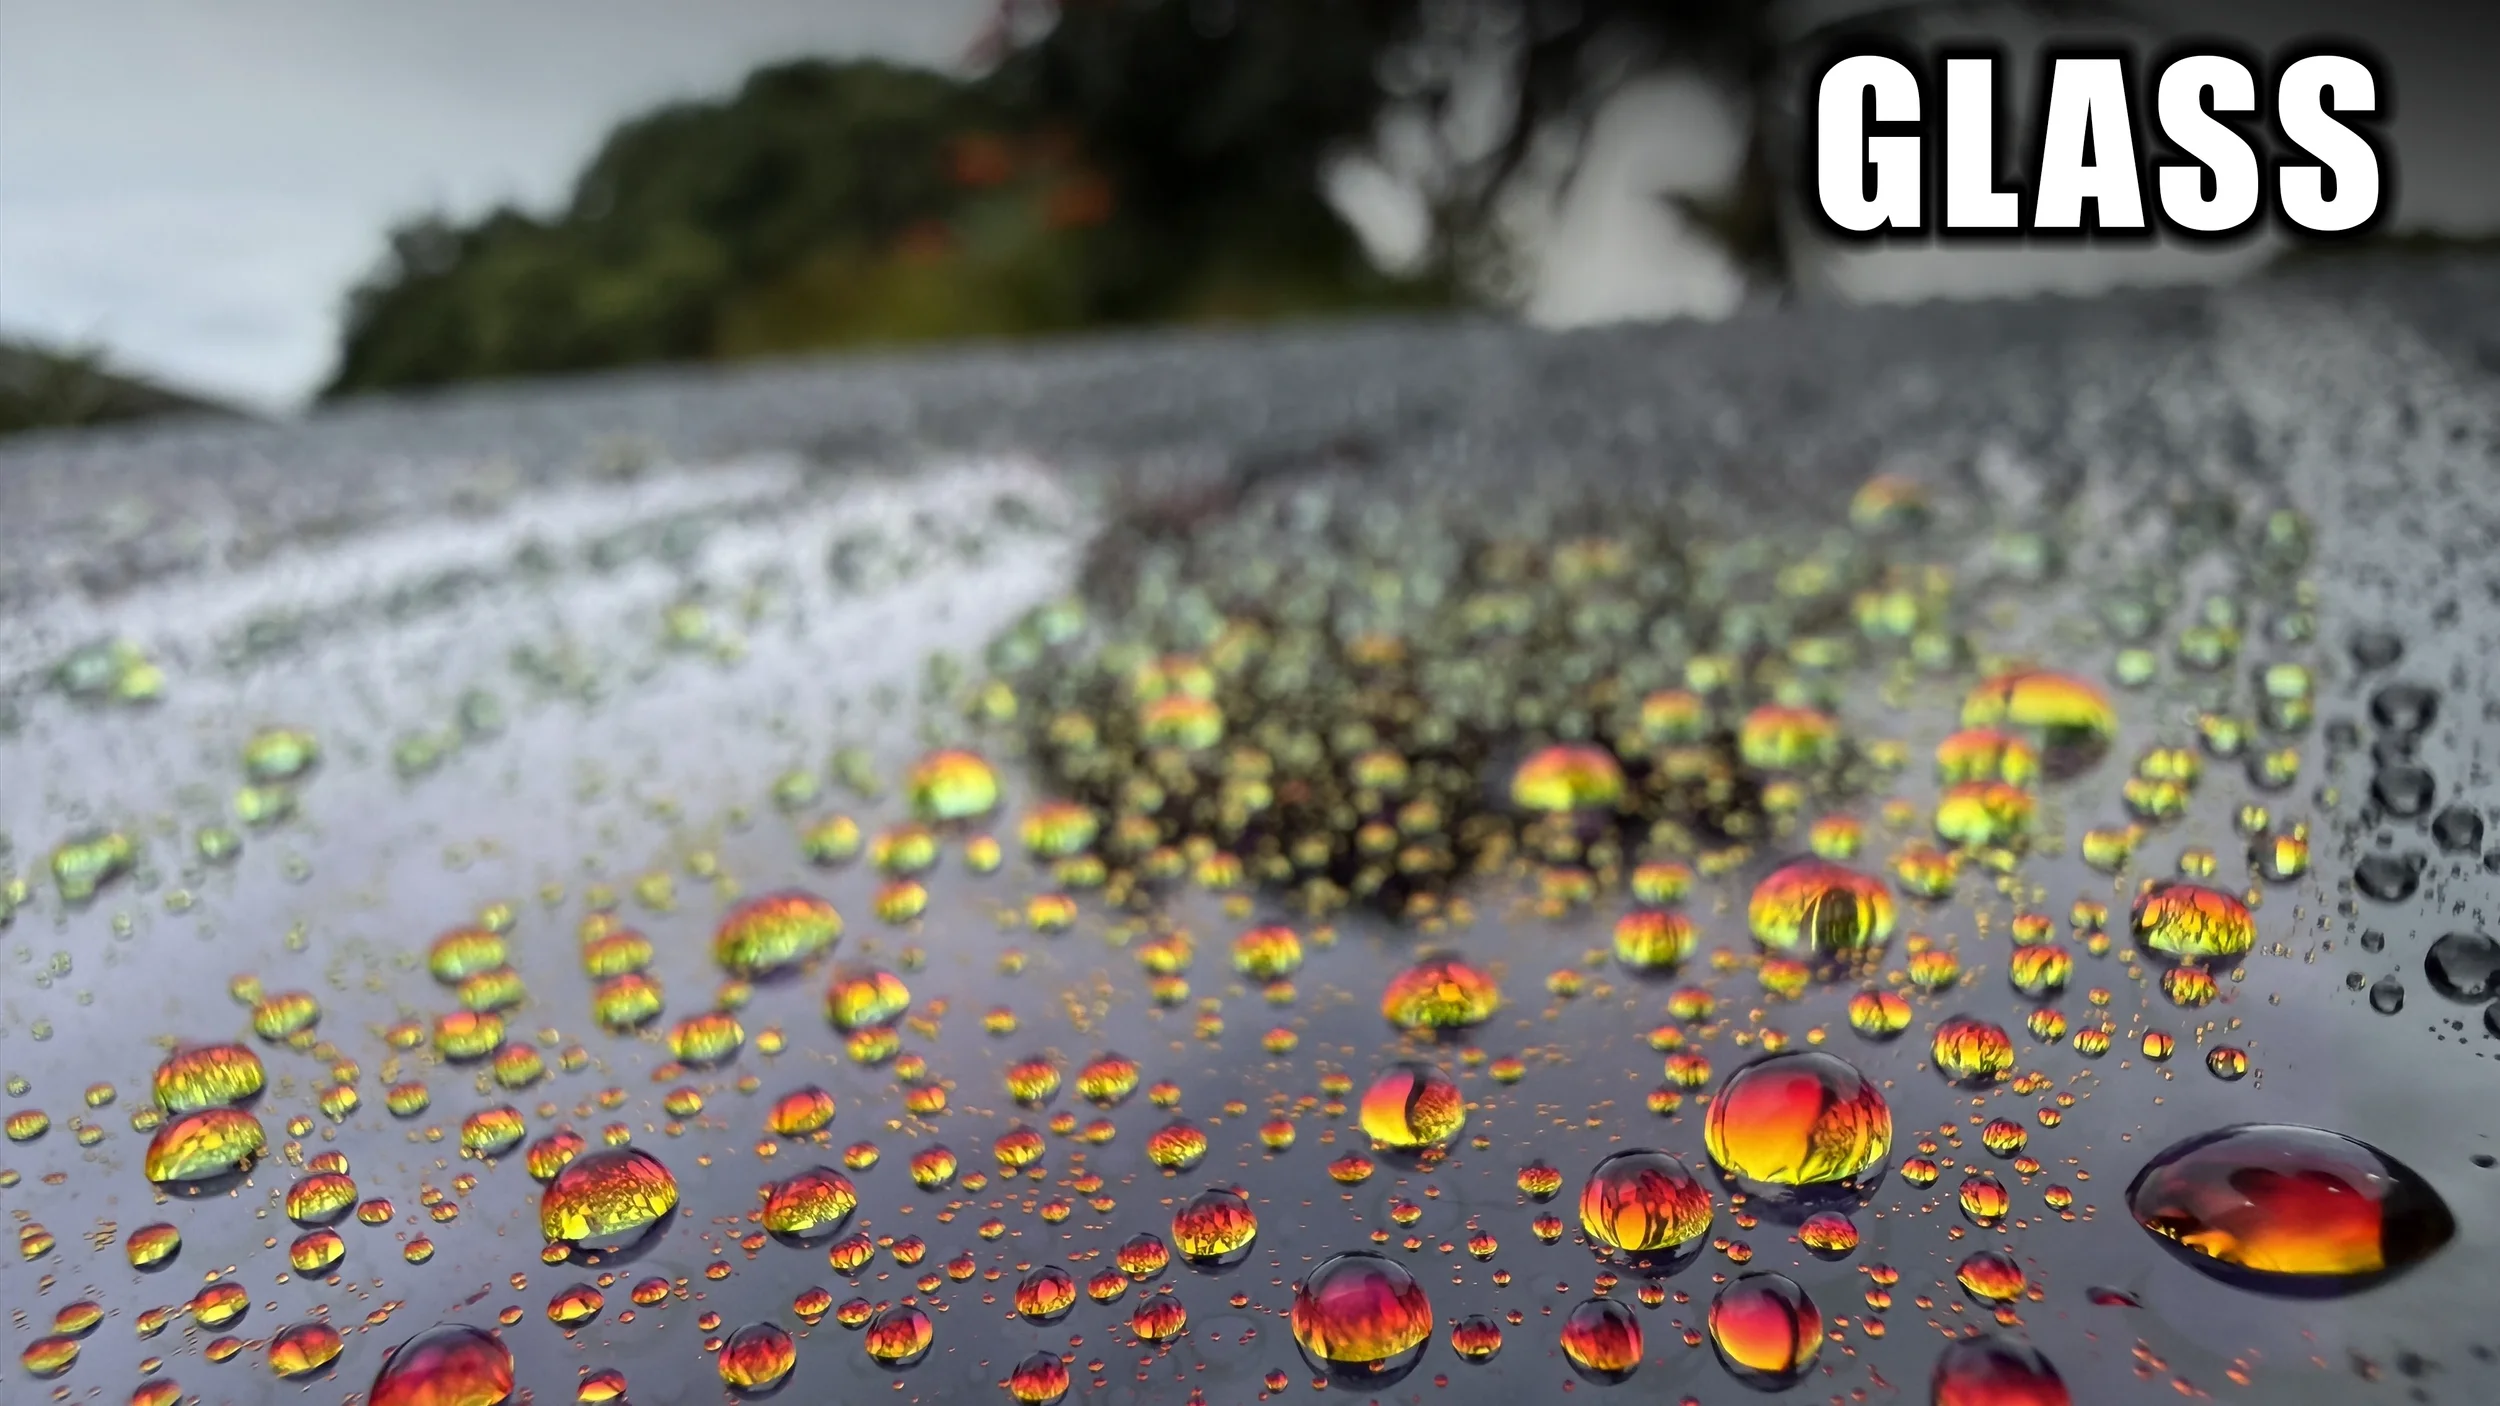
How to Decontaminate, Clean & Protect Glass
Clean, clear glass is one of the biggest upgrades you can make to any vehicle. Water spots, mineral deposits, road film, and embedded contamination build up over time and turn into a hazy film that glass cleaner alone cannot remove. This process restores optical clarity, improves nighttime and rainy-day visibility, and creates the perfect surface for long-term protection.
This is the exact method I use when glass needs more than a simple wipe-down. Assume the worst (heavy water spots and bonded contamination) and skip steps only after you inspect and confirm they are not needed.
How to Execute the Process
Wash the entire vehicle first Start with a thorough wash so you are not grinding dirt into the glass. A clean surface lets you accurately judge the true condition of the glass and prevents loose grit from causing scratches during later steps.
Inspect and assess the glass Work in good light (preferably outdoors or under strong shop lighting). Run your hand over the glass, look for water spots, haze, or roughness, and check from multiple angles. Assume heavy contamination until proven otherwise. Light road film or smooth glass may only need clay. Rough, etched-looking water spots or stubborn mineral deposits usually require polishing. Decide your path here and skip what is not needed.
Decontaminate / polish the glass
Heavy water spots or embedded contamination: Use a random orbital polisher with a dedicated glass polish and a suitable pad (microfiber or foam designed for glass). Work in overlapping sections until the contamination is gone and the glass feels smooth and looks clear.
Light contamination only (no significant water spots): Substitute a quality clay mitt lubricated with a rinseless wash solution. Glide the mitt across the glass until it feels slick and free of bonded particles.
Keep the surface lubricated and do not let polish or clay dry on the glass. Wipe residue as you go so you can monitor progress.
Remove polish residue with rinseless wash Mix a high-quality rinseless wash according to the product directions. Spray or wipe it onto the glass and use a clean, high-quality microfiber towel to easily lift all remaining polish or clay residue. This step leaves the glass clean without introducing new water spots from a traditional rinse.
Final clean with tint-safe glass cleaner Spray a high-quality, tint-safe glass cleaner onto a lint-free microfiber towel (never directly onto the glass if the sun is strong) and wipe in straight, overlapping strokes. Flip to a clean side frequently. This removes any leftover haze or residue and delivers a streak-free finish.
Repeat as needed Inspect again under good light. If any spots or haze remain, go back to the appropriate earlier step (usually polish or final clean) until you reach the clarity level you want. Do not rush this part — glass shows every mistake.
Protect with glass spray sealant or ceramic coating Once the glass is fully clean and dry, apply a glass-specific spray sealant or true ceramic coating according to the product instructions. This adds a protective layer that improves water behavior in the rain, boosts visibility while driving, and makes future cleaning much easier because contamination has a harder time bonding.
Reapply spray sealant after each wash This will refresh and improve protection over time. If water beading is still at 100% during the future wash you can consider skipping the reapplication.
**Pro Tip**
Always work one section of glass at a time and keep a stack of clean microfiber towels ready. Most glass cleaning problems come from dirty or low-quality towels that re-deposit lint or residue. Flip and fold often so you are always wiping with a fresh side.
Key Highlights
Removes bonded water spots, mineral deposits, and embedded contamination that regular glass cleaner cannot touch
Restores true optical clarity for better daytime, nighttime, and rainy driving visibility
Creates a smooth surface that lets protection products bond properly
Makes future maintenance faster and easier
Safe for factory and quality aftermarket tint when you use tint-safe cleaners
Scalable: light clay for mild cases, machine polish for heavy contamination
Who Is This For? Anyone who wants truly clear glass — DIY detailers, weekend warriors, and YouTube viewers who have watched the process and want the written steps plus product recommendations. Especially useful if you live in an area with hard water, coastal salt, or frequent rain that leaves mineral spots.
Product Links These are the products I actually use and recommend for this process:
DIY DETAIL & ARMOUR DETAILING SUPPLIES discount 10% OFF HAWAIIDETAILING
CAR SUPPLIES WAREHOUSE discount 10% OFF HAWAII10
Glass Polish / Stripper options — DIY-friendly glass polish kits or dedicated creams with good cutting power for stubborn build-up
DIY Detail Gold Standard Polish Great all around polish. Works well on glass too.
P&S Glass Polish Great dedicated glass polish
Random Orbital Polisher — reliable corded machine for controlled glass work
Polishing pads — coarse microfiber or foam pads designed for glass
Wool Cutting Pad Use for the really heavily contaminated surfaces
Waffle Foam Pad Use to remove medium to light contamination
Clay Towel— Synthetic clay towel used to decontaminate glass and paint.
Rinseless Wash — polymer-based formula that safely lifts residue without rinsing
High End Great Quality Trigger Spray Bottles (shown Above) These look amazing and double pump action works well too. Be sure to flush the trigger with water if using high PH chemicals.
Entry Level Economical 16oz Unbranded Trigger Spray Bottles (shown above) Standard detailing clear plastic bottles. Perfect for a quick smaller mix.
Entry Level Economical 32oz Trigger Spray Bottles Standard detailing heavy duty plastic bottles. Perfect for a larger mix.
Reach Tool — Great for reaching over dash board into the tight area while cleaning the windshield
Tint-safe Glass Cleaner — economical and effective cleaner I have used for years
Diamond-weave high-quality microfiber towels — Quality towels prevent lint and streaks
All purpose high-quality microfiber towels — Used for everything where a specific towel is not required. Quality still matters with these
Ceramic Glass Coating — true ceramic protection that improves water behavior and long-term cleanliness. Takes more effort to apply than spray sealant but durability is increased.
Spray Glass Sealant— Easy to apply with good long lasting results. Apply after each wash to refresh and improve protection.
FAQ
Do I always need to machine polish?
No. Inspect first. If the glass is smooth and only has light film, a clay mitt with rinseless wash is often enough. Polish only when water spots or roughness remain after inspection.
Is this safe on tinted windows?
On the exterior Yes. On the interior you use a tint-safe glass cleaner and avoid aggressive products on the film side. Always test a small area if you are unsure about the tint quality.
How often should I do a full decontamination?
Only when contamination returns and regular cleaning no longer restores clarity. Once protected with a good glass coating or sealant, maintenance becomes much simpler and less frequent.
What if some spots still remain after polishing?
Some severe etching may not be fully removable. In those cases, improve clarity as much as possible and protect what you have so the problem does not worsen.
Can I skip the final protection step?
You can, but you will be cleaning the glass more often. Protection is what makes the results last and keeps water sheeting off in the rain.
This process turns average glass into the kind of clear, protected surface that makes a noticeable difference every time you drive.
Questions or broken links? Email jeremy@hawaiidetailing.com.
As an Amazon Associate I earn from qualifying purchases. Thanks for your support.